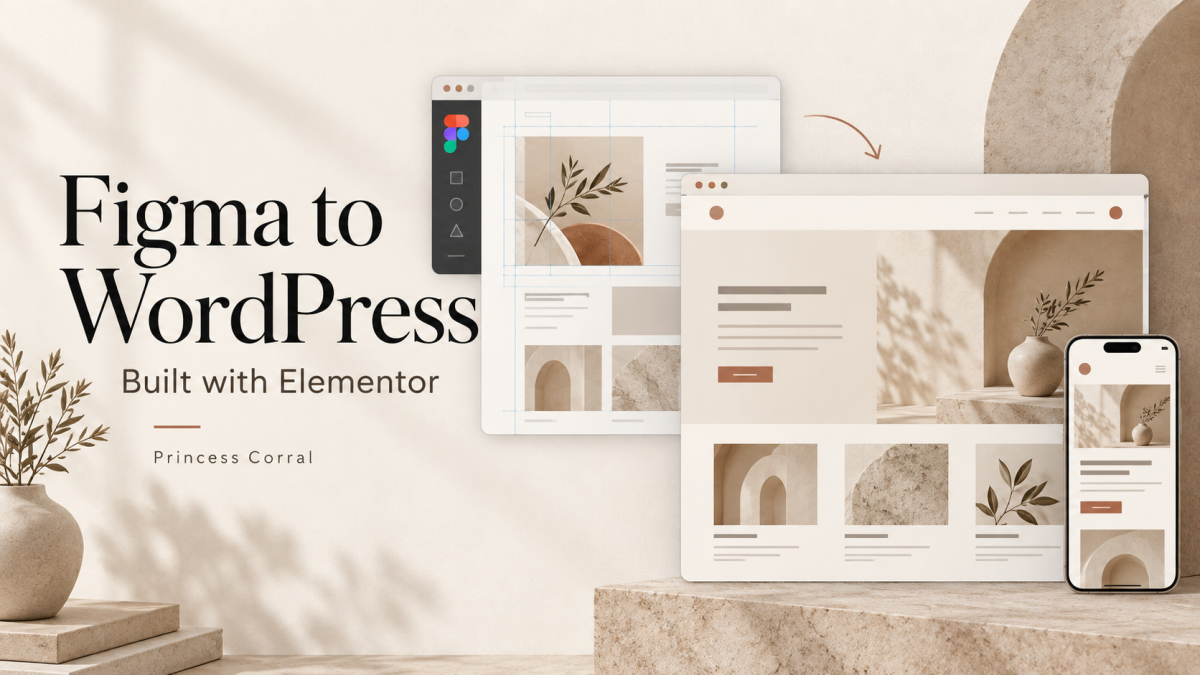
A finished Figma design gives your website a clear direction. Turning that design into a working WordPress website brings another set of questions: How should the layout behave on mobile? Where should each button lead? Will your team be able to update the content after launch?
I’m Princess Corral, a junior WordPress developer and client manager based in Legazpi City, Philippines. My work includes building responsive Elementor pages from Figma designs, maintaining WordPress websites, and coordinating project tasks.
My background in client management also shapes how I approach website work. Clear requirements and organized feedback help everyone understand what needs to be built.
If you’re preparing to turn a Figma design into a WordPress website with Elementor, here are the details worth organizing before development begins.
1. Identify Which Figma Designs Are Ready to Build
Before development starts, make sure everyone knows which version of the design is approved.
A Figma file can contain early concepts, revised sections, and several versions of the same page. Without a clear starting point, it is easy to build from a layout that is still being discussed.
Your handoff should identify:
- The approved pages and sections.
- Desktop and mobile designs, where available.
- Fonts, colors, and image assets.
- Button destinations and navigation links.
- Any interactions that need an explanation.
If some sections are still awaiting approval, flag them separately. This helps the developer understand which parts can move forward and which need further discussion.
2. Prepare the Content Alongside the Design
Placeholder text is useful during design, but the final content can change how a page looks.
A longer heading may wrap onto another line. A different photo may need a new crop. A service description with twice as much text may change the balance of a section.
Before the build, gather your page copy, images, logo files, contact details, and downloadable documents.
For forms, decide what information you need to collect and where submissions should go. For buttons, specify whether they should open another page, start an email, or lead to a booking service.
These details make the handoff more complete and reduce avoidable revisions.
3. Decide How the Layout Should Work on Mobile
A desktop design does not answer every question about smaller screens.
For example, a section with an image beside a heading and paragraph might stack vertically on a phone. The order matters: should visitors see the image first, or read the message first?
Other details to review include:
- Heading sizes and line breaks.
- Spacing between sections.
- Button sizes and placement.
- Image cropping.
- Navigation behavior.
- The order of columns and cards.
When mobile designs are unavailable, the developer and client should agree on how important sections will adapt. The goal is to keep the content readable and the next action easy to find.
4. Plan for Future Content Updates
A website should remain useful after the initial build.
If your team expects to change service descriptions, add testimonials, or update calls to action, discuss that during the project. Repeated sections should follow a consistent structure so future edits are easier to manage.
For an Elementor build, it helps to identify which layouts appear across several pages and which sections are unique.
Consistency also makes reviews simpler. When headings, buttons, and spacing follow the same patterns, unexpected differences are easier to spot.
5. Keep Feedback Specific and Organized
My client management experience taught me how much project progress depends on clear communication.
Feedback such as “the spacing looks wrong” leaves room for interpretation. A more useful comment identifies the page, section, screen size, and expected result.
For example:
“On the mobile About page, please reduce the space between the introduction and the first image to match the approved Figma layout.”
A screenshot makes that request even clearer.
Tools such as Basecamp and Slack can help keep tasks and discussions organized. What matters most is having a clear record of the requested change and the latest decision.
6. Include Website Care in the Handoff
Publishing the website is another stage of the project. Content changes, WordPress updates, and ongoing checks still need an owner.
My maintenance experience includes working with websites hosted on WP Engine, GoDaddy, and SiteGround, along with site health and uptime monitoring using ManageWP and UptimeRobot.
Before the handoff, clarify who will handle maintenance, review reported issues, and make future content updates. This helps prevent responsibilities from becoming unclear once the build is complete.
Need Help Turning a Figma Design into WordPress?
I work on responsive Elementor pages built from Figma designs, ongoing WordPress maintenance, and client coordination.
My background combines client-facing agency experience with hands-on WordPress implementation. I understand the value of both a clear project brief and careful attention to the finished page.
Visit my WordPress developer portfolio to learn more about my experience and selected work. If you have a project in mind, share your Figma design, page list, and target timeline through the contact section.